March 29, 2010

They make my "SEWL" happy...


Family.
Is there anything better?

I took some Easter pictures of my children this weekend. To see them growing up is a happy and sad thing all at the same time.

How is this going so fast???


Here is a little video that is dear to my heart that I'd love to share with you all. My brother made it for all of our family. I was pregnant in most of the shots, so be nice :-)


Does anyone know how to slow down time?

Enjoy!

xo Emily xo

Stay Close from Ben Boyle on Vimeo.

March 25, 2010

LET YOUR ART GUIDE YOU ~ Week 7 ~

This week for our challenge I did a little painting and sculpting you could say. I found some goodies at Goodwill for pennies, spray painted a pair of ugly brass candlesticks white, and used them to display my handmade and FREE nests.


Oh how I love these nests.
(didn't the ugly brass candlesticks turn out cute?)


Here is the HOW TO:
You are going to need pine needles. I have never seen these pine needles used as landscaping aids until I moved to the South. Instead of bark or mulch to beautify your garden beds, you use these needles. They come in bales like below for $6-8.
Next up you need a glue gun. Get it nice and hot.


For the small nests, the process is a little different.


Start by twisting and balling up a small bunch of the needles, glue some of the pieces if they are not naturally staying together. Then get a few more needles and twist them into a circle and glue till it stays in the circle shape.

Then, all you need to do is glue the top circle on the bottom ball.
This is what you will end up with. I used 15mm wool balls as my eggs.

Now for the BIG nests that I put in my entry way in my urns.

Get a handle full of needles and make the edges pretty even. Lay them down and put a big blob of hot glue in the center.

Lay on another bunch in the opposite direction.


DO this 5-6 times until you feel like you have a good base for the sides of the nest and where your eggs will rest.

Now- randomly grab a bunch and let it be just as you grabbed it, but now fold it in half and create a U shape. Run some glue along 1/4 of your base in a shape like this ( and then lay down that bunch and DO NOT USE YOUR HANDS TO PUSH IT DOWN! You will burn the finger prints of your precious little fingers. I used an orange and a lemon. The glue would not stick to them and weighted it down to get them nicely stuck and secure.


Keep doing this, going round and around until you get the height and look you want.


Nestle some eggs in and enjoy all your hard, I mean easy work.

I have a timer on my lights from Christmas and I left them on and used the lights under my nests to light and beautify my entry.


As Martha would say...this is a GOOD THING!


I do a little giggle every time I walk around and see these. They were fun to make and free. At night the glow is warm and enchanting.
These little nests would be great presents and could be used anywhere.


Now- what have you all made? I am so excited!!

Start linking up.

xo Emily xo


March 18, 2010

LET YOUR ART GUIDE YOU ~ WEEK ~ 6


I love the arrival of new seasons. I welcome the change of temperature, sunlight, smells and daily routines.

This painting would represent winter with all it's gray tones and blahness...


but this one represents...
.
.
.
.
.
.
.
.
.
.
.
Spring!


It's a 20x16 canvas with layers and layers of color.
It is called "Spring Rain".


This Sunday it is officially the first day of Spring.
Bring it on!!!!!

If you are so in love with this painting that you just can't stand it and you need to purchase it...click here.

xo Emily xo

To all those participating...remember to visit each participant and give your support.
(Who doesn't love comments? )


March 15, 2010

Kitchen Renovation


I promised a while back to show the progress in my house. Well, I only finished this room before Christmas but hey, I'm finally showing y'all right?

Here was our breakfast nook before we moved in.

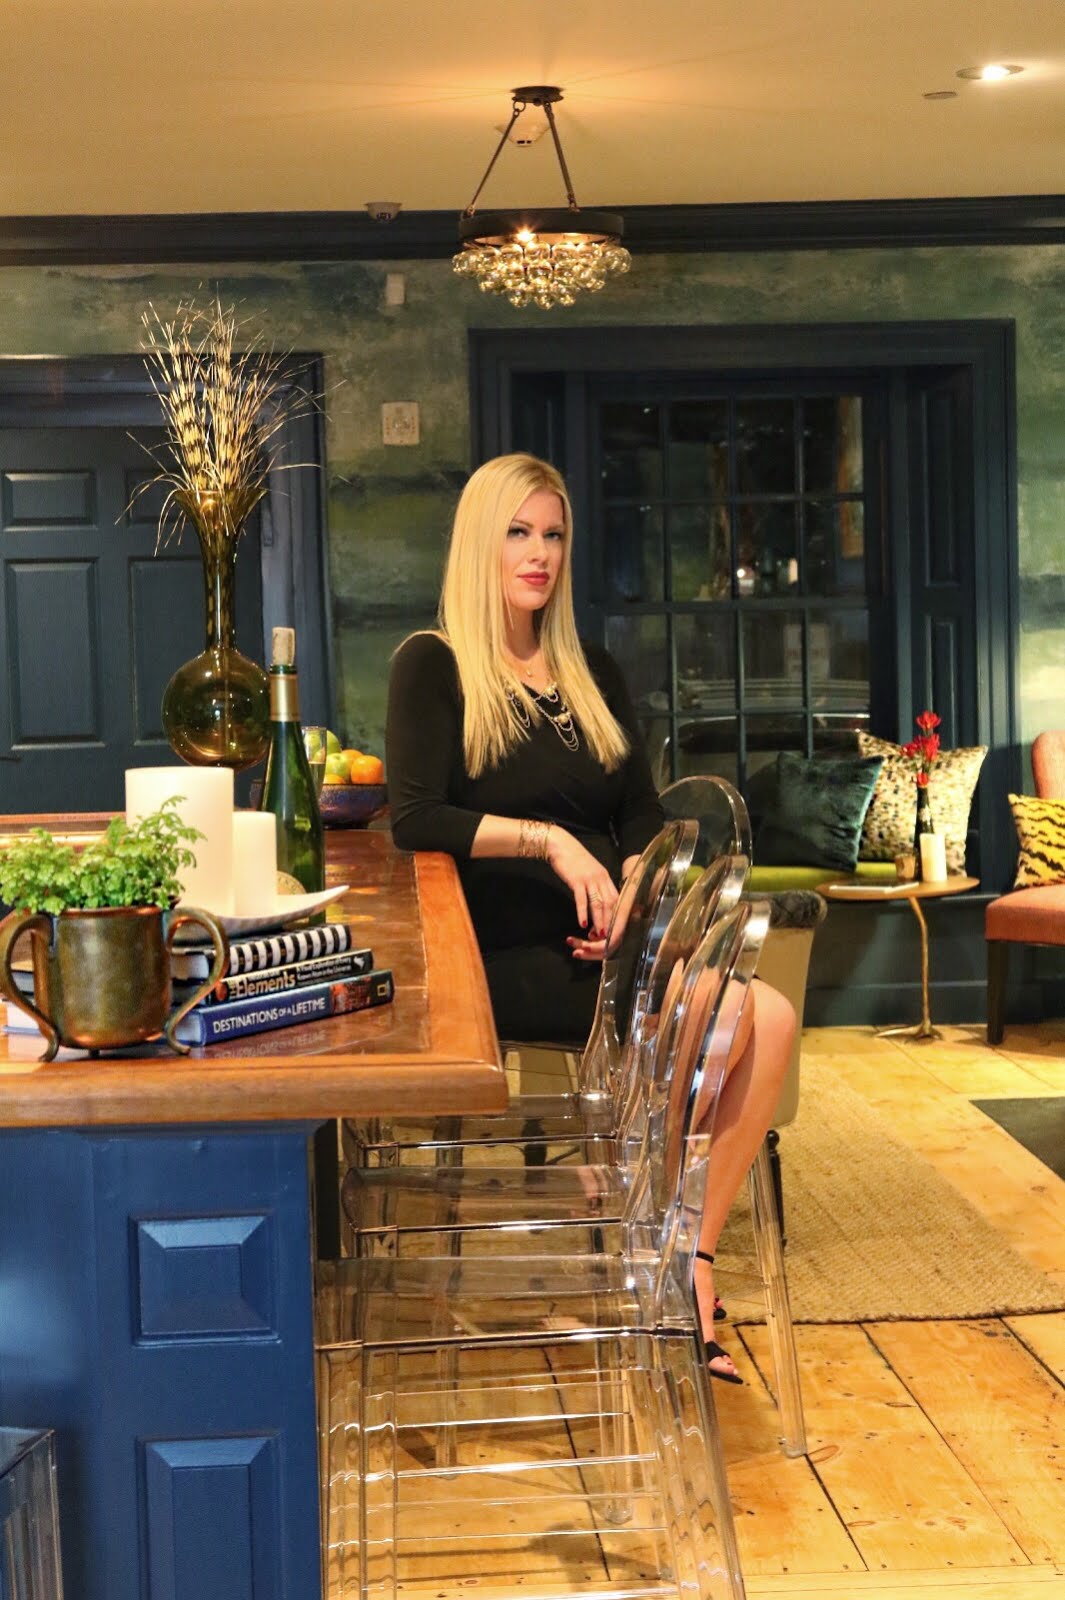
This is a shot of part of the kitchen.


Remember these chairs I found at Goodwill for $9.99?


These were fun to makeover. The shape and lines of them were just so beautiful and I wanted them to go with my table that has wrought iron legs. So they were spray painted black.
And here is part of the results....
.
.
.
.
Ta-Da...


The curtains are canvas drop cloths that cost me all of 18 bucks for all of the curtains in the kitchen!! I replaced the old light that hung too low with one I found on clearance online for $30 bucks.

This swatch is the actual color of the wall. It is Silver Sage from Restoration Hardware.


This grate that I hung above the table is from Paris. It was on an old home in the early part of the 1900's.

A view into my living room.
The big black cupboard used to be in my craft room but it just "fit" in this room better.

MY theory on decorating is that is should all mean something to you and be very personal. Most of the decor or trinkets in my home have been collected over time or as I have traveled.

These gorgeous old stoneware bottles were made and used in the town my husband grew up in in Northern England. Bacup, Lancashire to be exact. Apparently, they were drank from and then you threw them in a recycling sort of bin at the time. They cleaned them, then refilled them with ginger beer and put a cork in it. My father in law found them in an old house and gave them to me.

I made that clock above the pantry.

The colors are not showing up "true" because it was a night shot but you get the idea.


No- I do not still have my Christmas tree up. These are old photos ;-)
I have been tinkering still with placements of things and making it more cozy but I wanted to share with y'all.
Oh- and remember I said "personal decor"? The painting near the microwave was bought by me and my hubby in England at an antique store about 5 years ago and I never had the right place for it.
I do now!!

Hope you enjoyed the little tour of my kitchen.

xoxo Emily xoxo